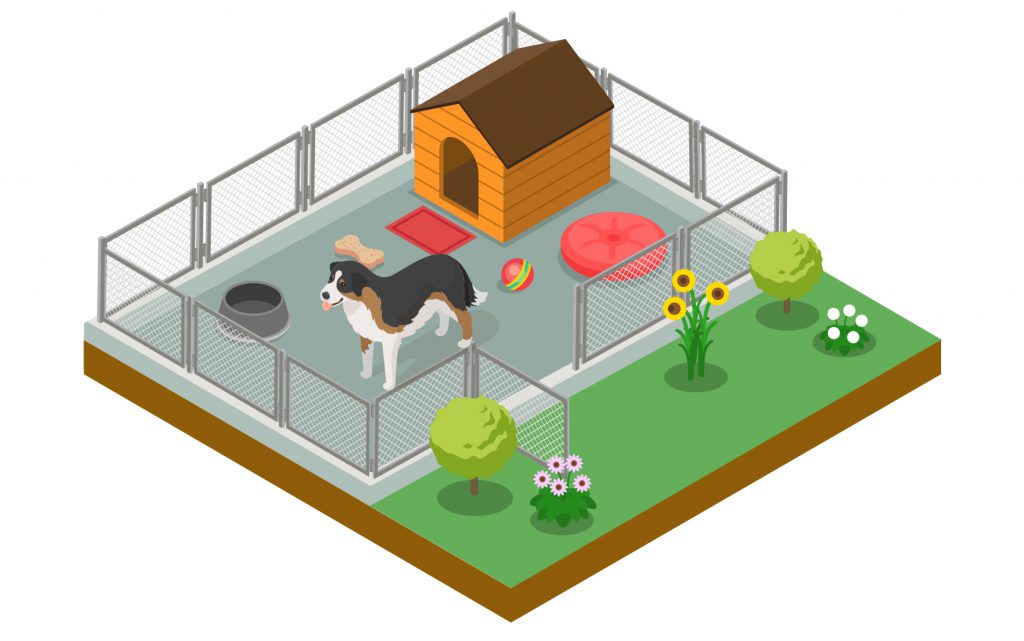
How To Build A Concrete Base For Dog Kennels & Runs
We want our pets to be safe, happy and comfortable. Constructing a kennel, dog run or dog bowl using concrete may, therefore, seem like an unusual choice. But this material has lots of benefits to improve the welfare of your dog and the usability of these spaces, namely concrete’s durability, stability and cleanliness. In this article, we outline how you can easily build a concrete dog kennel base, run and bowl for your pooch.
What concrete to use for a dog kennel
Concrete is one of the few materials a dog won’t be able to chew or dig through, and that’s what makes it an ideal material for the foundation of a dog kennel. Ready mixed concrete is a convenient choice as it is pre-mixed and ready for you to pour – just make sure you have prepared for its arrival in plenty of time. Alternatively, you can purchase bagged cement and carefully mix it yourself.
How to lay concrete for a dog kennel/run
- Establish the size of the kennel or run by considering the size of your dog (for example, a Great Dane will need a much larger space than a Chihuahua). The RSPCA recommends that your dog should be able to walk, run, wag their tail, stand on their hind legs, stretch, lie down, and play – all within the confines of their kennel. Even more room will be needed for a dog run, as their purpose is for exercise.
- Mark out the area with stakes at the four corners, placing string between them.
- Dig out this area and make it a few inches deep. Smooth the dirt out a little.
- Now it’s time to ensure the stakes are appropriately placed. In addition to the four corner stakes, you will need stakes placed periodically to create the walls. For two opposing walls, ensure that the height of the stakes decreases slightly – this will create a sloping floor for the kennel or dog run.
- Cut and nail boards to run along the outside of the floor space.
- Get the wire mesh in place to reinforce the concrete you’re about to pour – ensure it is securely held in place, slightly off the ground.
- Now you can pour your concrete which will need to be levelled out using boards. Be sure to ‘float’ the concrete (using a ‘float’ which removes imperfections and compacts the mixture).
- Once the concrete has set and cured, you can remove the structural boards around the edge
- Choose a concrete sealer with care. Investigate brands that will block all the pores – this will prevent urine and faeces from impacting the quality of the concrete.
How to clean a concrete dog kennel
Hopefully, the concrete floor of the kennel should be sealed to prevent animal waste from entering the concrete pores. Even so, it will still need cleaning to ensure a hygienic environment for your pet.
- Sweep to remove any large pieces of waste or fur. Remove the dog, too.
- Take a hose and rinse the floor with hot water.
- Select a disinfectant that is safe for humans and animals alike. Whatever you choose, it will need to be diluted down before use. Once you’ve used it, check the packaging to see if it will need rinsing away or not.
- Change any bedding and give the feeding bowls a clean.
- Make sure the kennel is dry before allowing your pooch to re-enter.
Benefits of concrete dog run surface
- More stable than paving stones
- Less vulnerable to subsidence over time
- Does not move or scatter like gravel or wood chip
- If sealed properly, concrete will not absorb urine or other waste, making it easy to keep clean
How to make a concrete dog bowl
Most dogs are a bundle of energy, and if your pooch brings this enthusiasm to their meal times, this can result in plastic dog bowls moving across the floor and tipping over. Putting your DIY skills to good use and crafting a dog bowl from concrete could be the solution. The steps are simple:
- Mix the mortar according to the instructions on the bag. Most mortar or cement will need the slow addition of water into the mix. Try and avoid air bubbles whenever possible. You’re searching for a thick but flexible mixture.
- Next, you will need two stainless steel bowls of differing sizes – enough to ensure they can fit neatly within one another with a reasonable gap between the sizes, as this space will become your concrete bowl. Spray them with cooking spray.
- Pour the mixture into the larger bowl, about halfway. Quickly take the smaller bowl and gently press it into the mix, weighing it down with a rock until it sets.
- Allow the concrete to set for a day or so. Remove the bowls – you may need implements for this step to help ease them off the concrete.
Whether you’re making a kennel for your pooch, or driveway for your car – Neil Sullivan have the highest quality mixes of concrete for customers across Essex. You will only pay for what you use, no matter how large the project, and we also provide same and next day delivery to your location.
Contact us today to place your order: 0800 859 5973